Creating a VM
How to create a VM with Nirvana Cloud.
To create a VM, go to your "Cloud Dashboard." Ensure that you have first created a VPC.
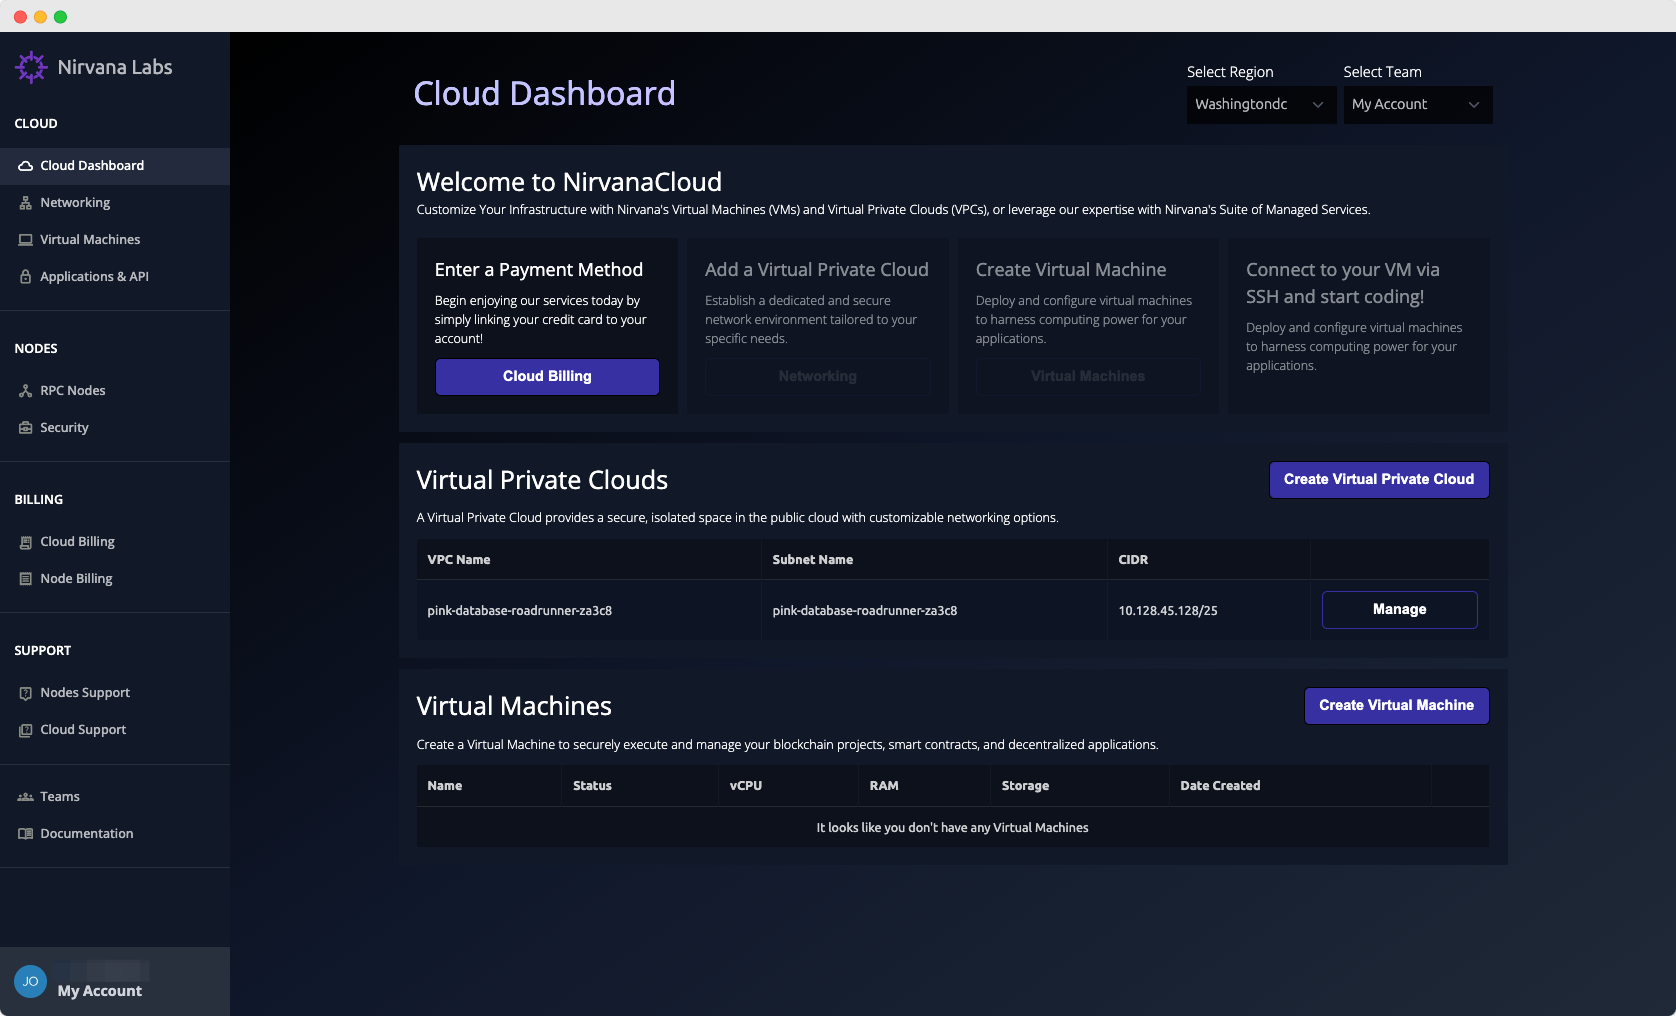
Click on "Create a Virtual Machine"
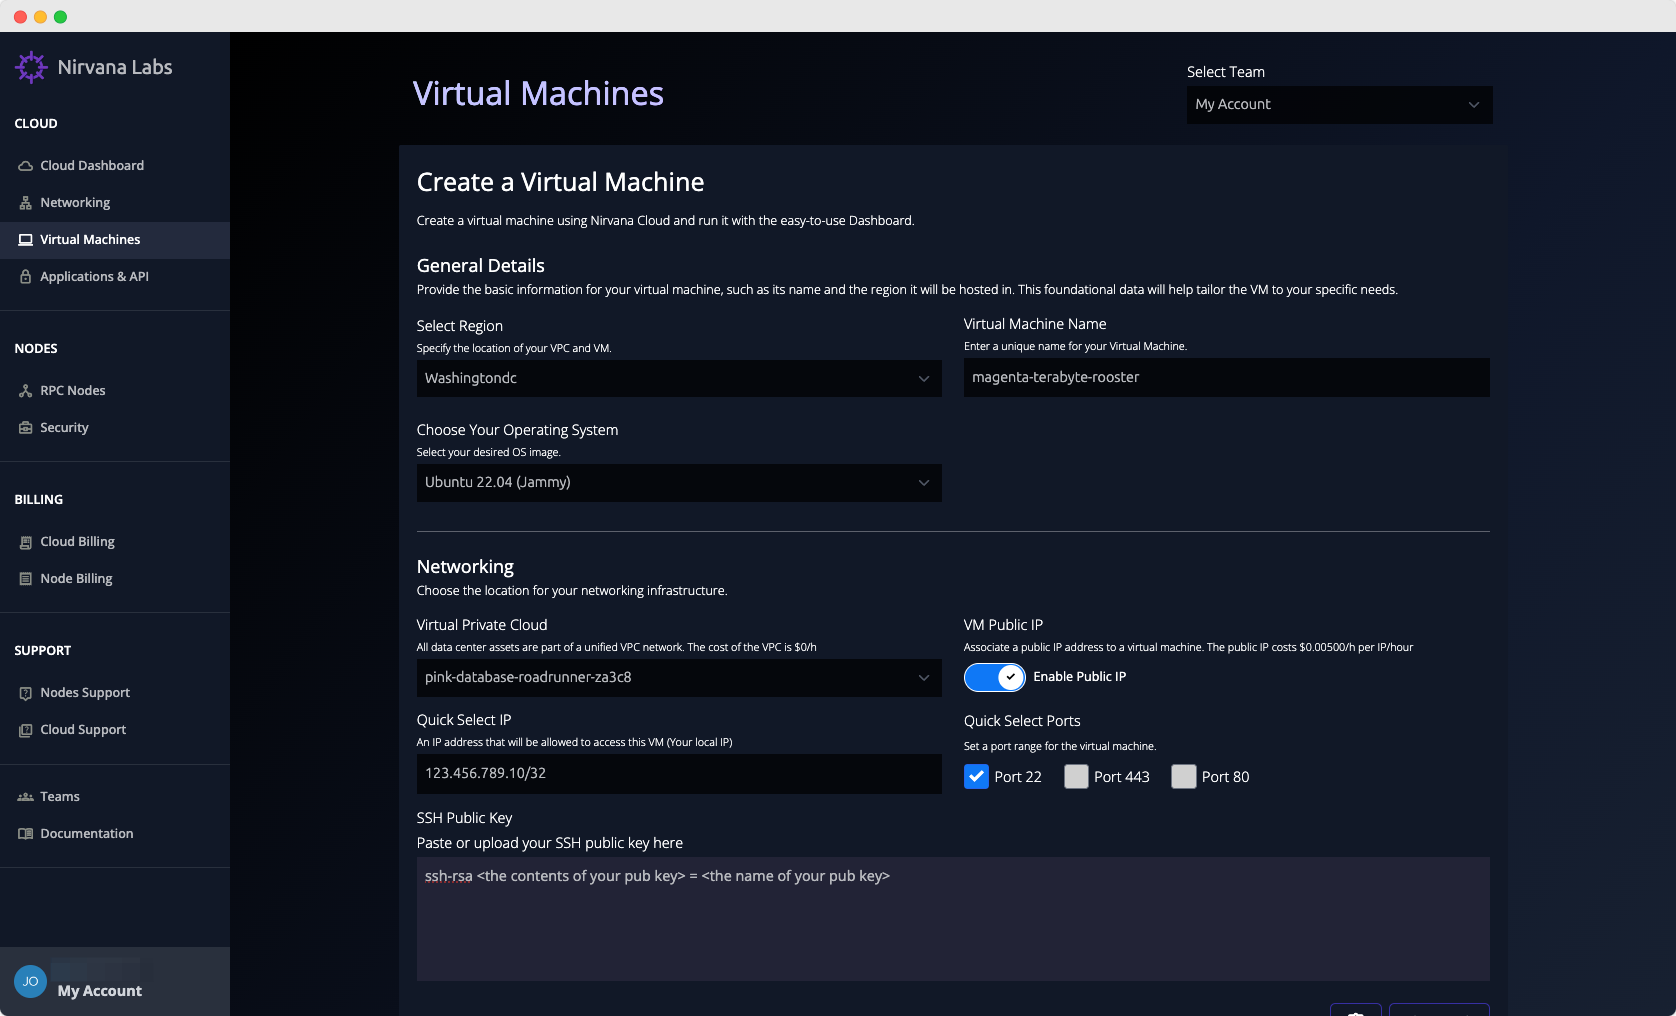
Choose the region that you would like to use.
By default, an auto-generated VM name is suggested. You can use this unique name or you can input a different name.
Choose your operating system. Currently, Ubuntu 20.04, 22.04, and 24.04 are officially supported.
Select your previously created VPC from the dropdown. If you would like your machine to have a public IP address, check the "VM Public IP" box.
To access the machine via SSH, HTTP, or HTTPS, you will first need to input your own public IP. By default, your current IP address will be autofilled in the "Quick Select IP" box. Your public IP is the source and the public IP of the VM is the destination. Use the "Quick Select Ports" checkboxes to open specific ports. You can add more ports after creating the VM.
Paste your public key (usually named id_rsa.pub) into the "SSH Public Key" input box. You can also click on the "Choose File" button to browse your files for your key.
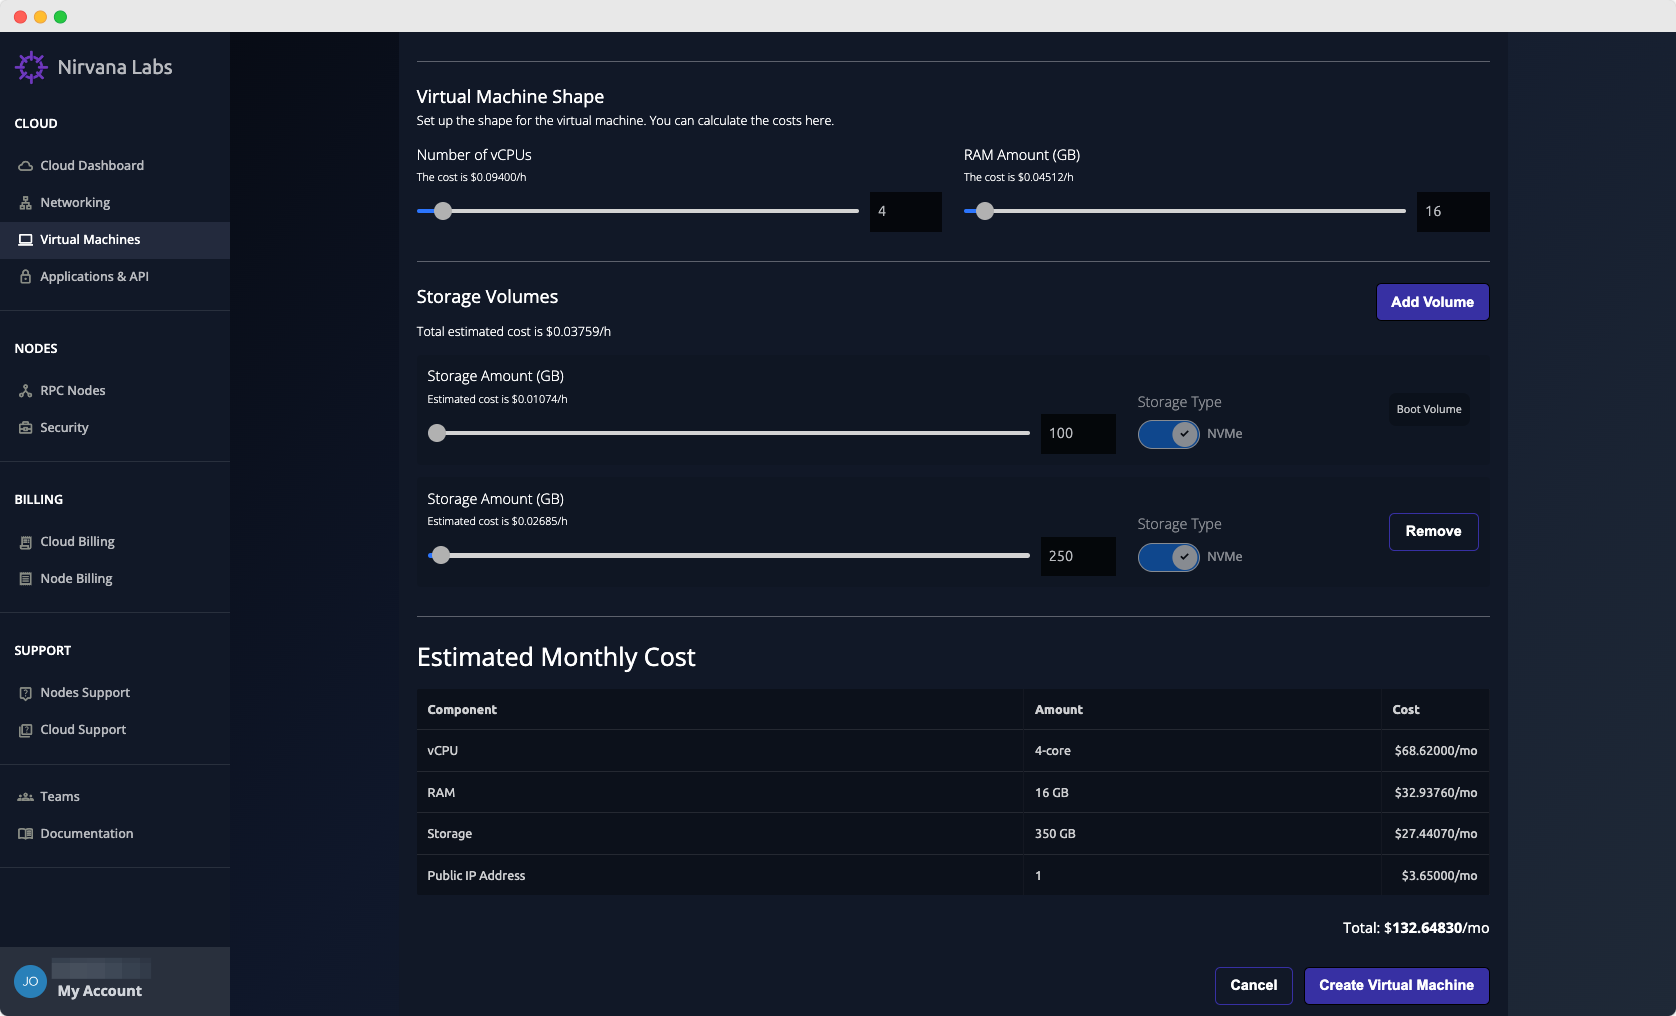
Use the sliders to select the desired amount of RAM, CPU, and storage for the VM. You can also specify an amount in the input boxes.
Add a volume to your VM by clicking the "Add Volume" button. By default, your VM will be provisioned with one volume which is the primary boot volume. You can also add volumes at a later time.
Your estimated monthly cost will be shown in an itemized list.
When you are ready, click on the "Create Virtual Machine" button.
If you have added multiple volumes to the VM, you will see a pop up on the next page which tells you how to partition and format your new volume(s).
You can now see the VM on the "Virtual Machines" page.
Congratulations. You have created a Virtual Machine on Nirvana Cloud!
Updated 4 months ago