Adding a Volume to an Existing VM
After a VM is first created, you can add additional volumes to it. This can come in handy if you need more storage space for your VM.
To add a volume to an existing VM:
Navigate to "Virtual Machines" in the left-hand menu.

Find the VM you want to add a volume to and click "Manage".
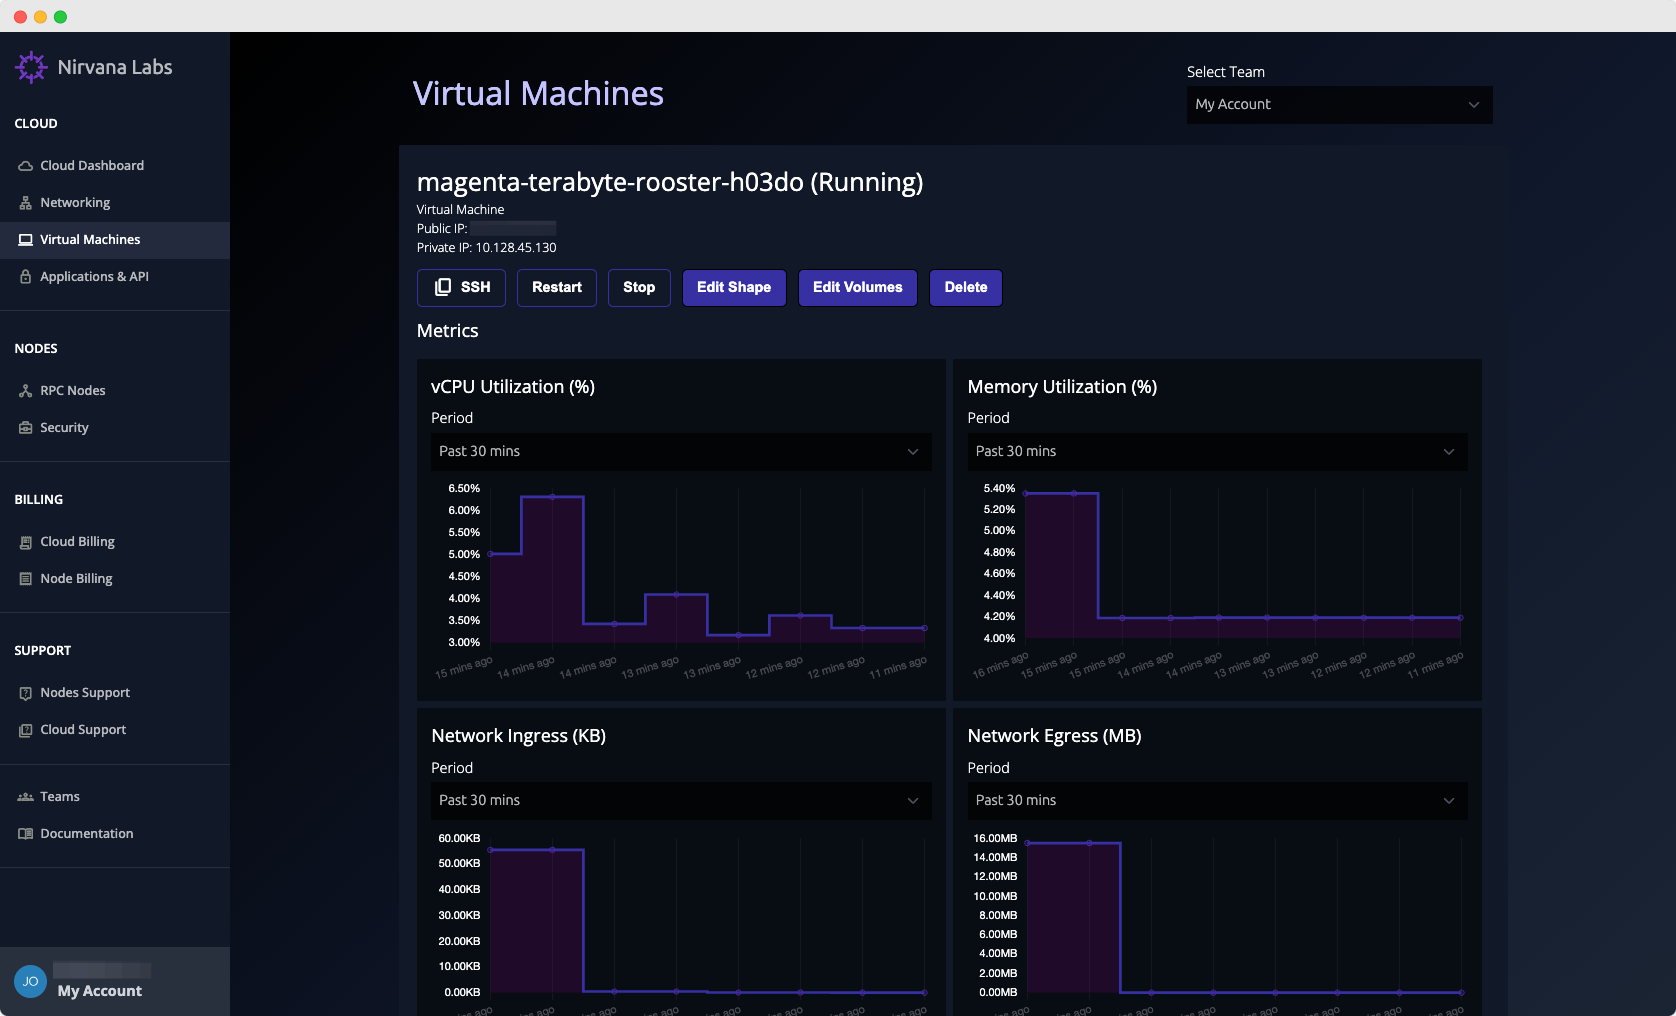
Click on the "Edit Volumes" button.
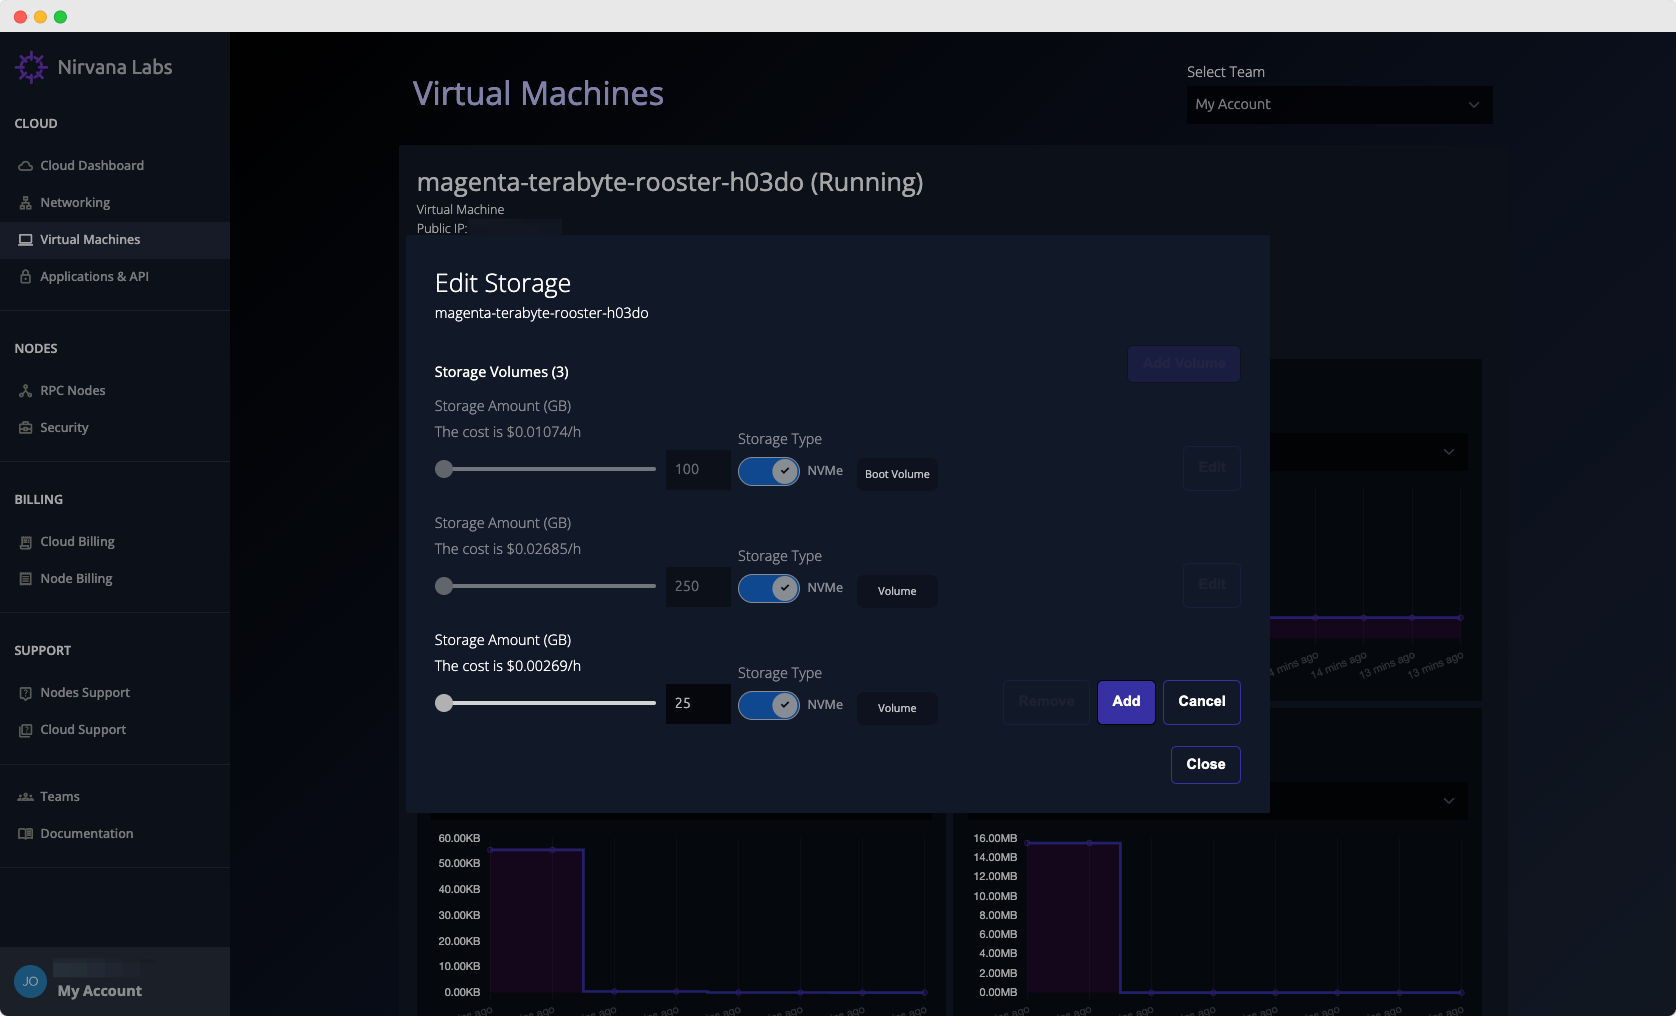
Click on the "Add Volume" button and specify the size of the volume. In the above example, we are adding a 25 GB NVME volume to the VM.
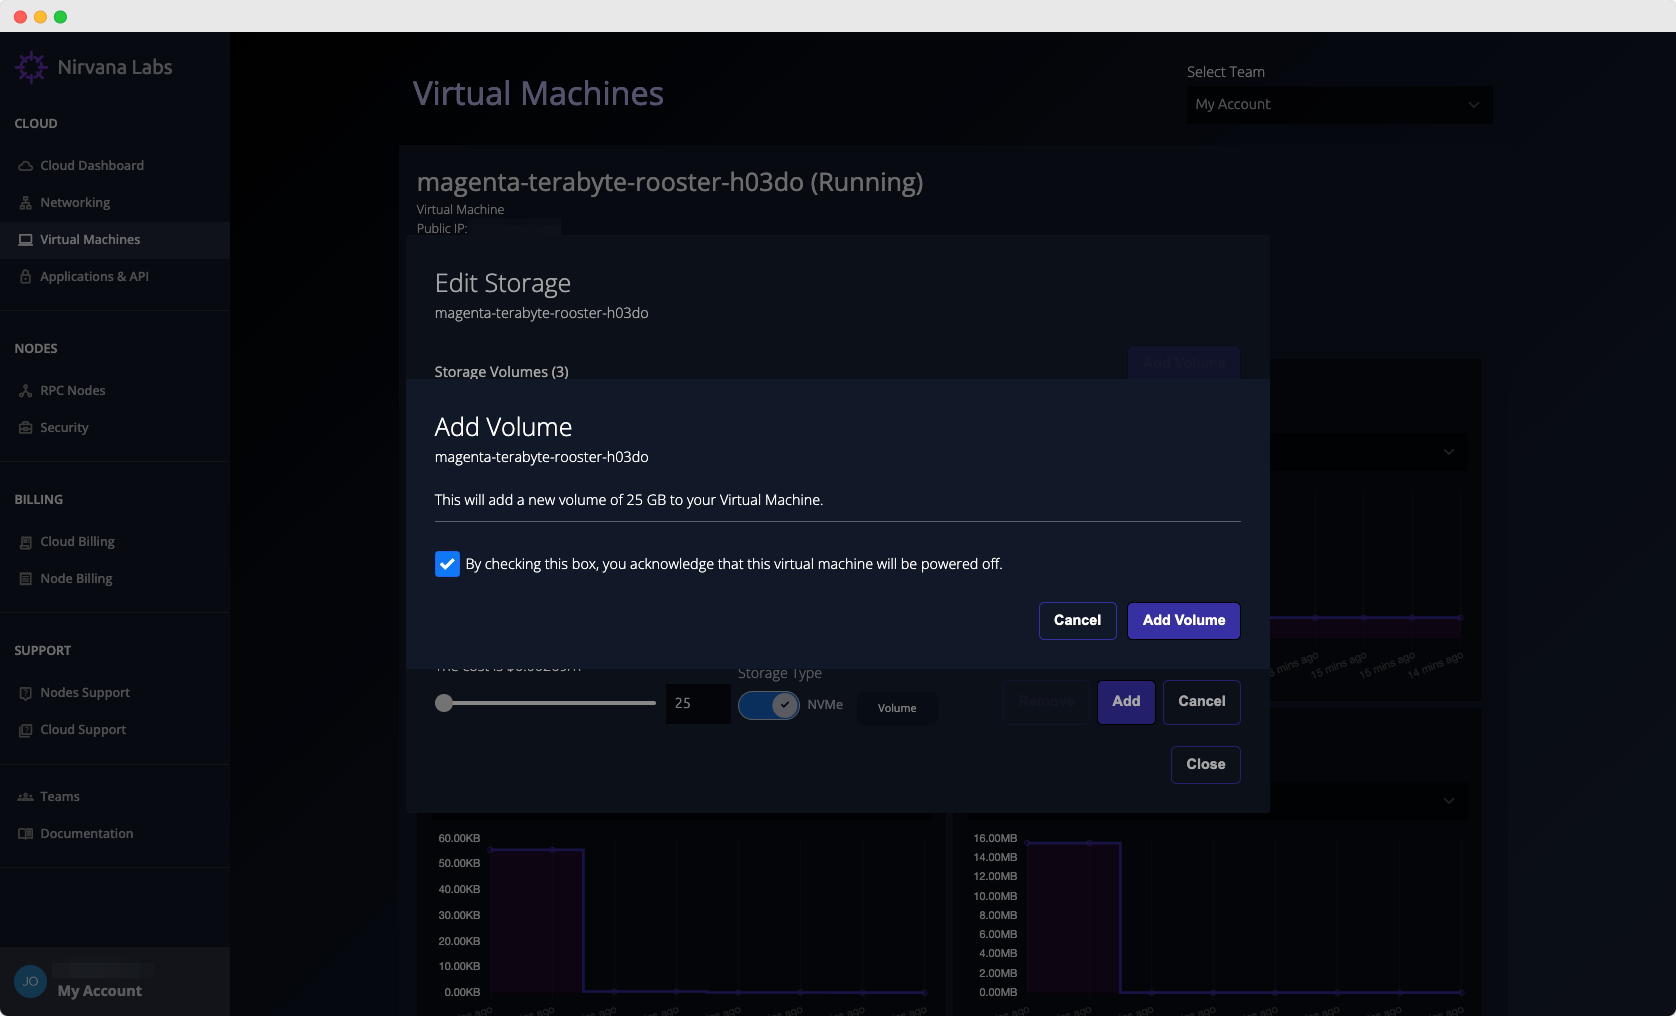
Your VM will be stopped while the volume is being added, and will be started again once the volume has been added.
Check the box that ensures that you have read that your VM will be powered off and click "Add Volume".
Keep in mind, you will have to create a partition on the volume and format it before you can use it.
The following commands can be used to create a partition and format it:
# List the available volumes
lsblk
# Create a partition on the volume (replace /dev/vdb with the appropriate device name if different)
sudo parted /dev/vdb --script mklabel gpt mkpart primary ext4 0% 100%
sudo mkfs.ext4 /dev/vdb1
# Create a mount point and mount the volume
sudo mkdir -p /data
sudo mount /dev/vdb1 /data
# Add the volume to /etc/fstab so it gets mounted on every boot
echo "/dev/vdb1 /data ext4 defaults 0 0" | sudo tee -a /etc/fstab
# Change the owner of the mount point to the ubuntu user
sudo chown -R ubuntu:ubuntu /data
Updated 4 months ago